¶ Basics
1. Open the ‘System Preferences’ application.
2. Click on ‘Network’.
3. Select the network interface you wish to see the details of.
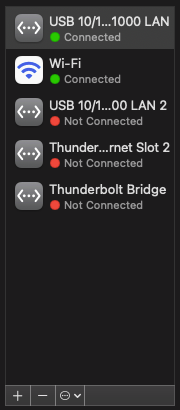
4. In this example, we'll look at the Wi-Fi connection. Select the ‘Wi-Fi’ interface in the left column.
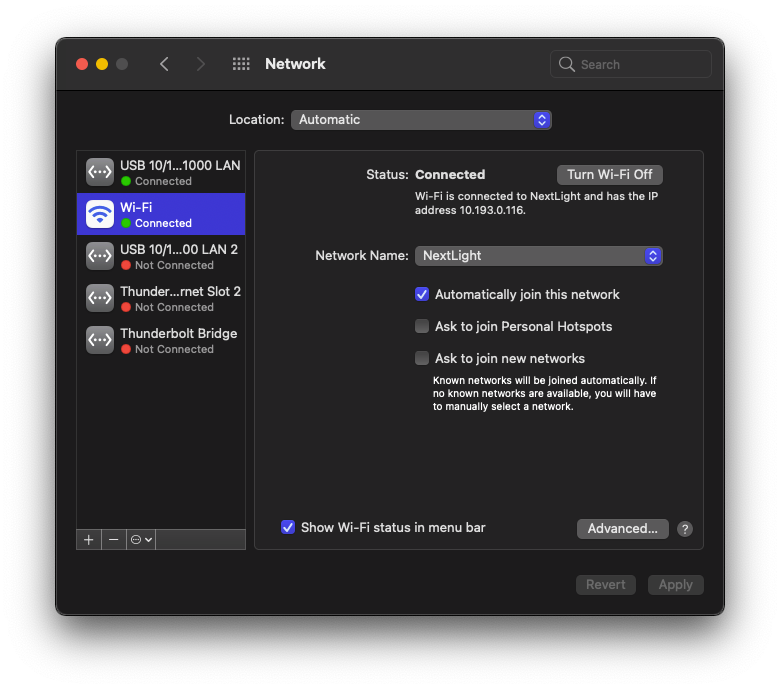
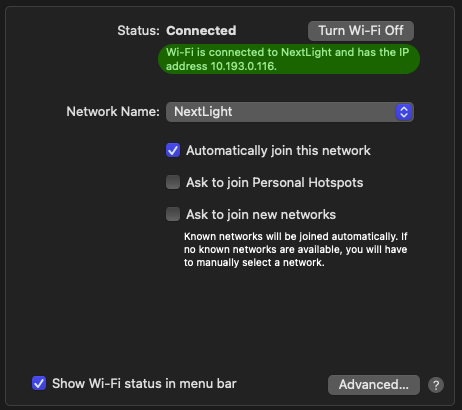
5. From this menu, you can see what Wi-Fi network you are connected to and the IP address your computer has assigned to it while connected to that Wi-Fi network.
¶ Change Wi-Fi Network
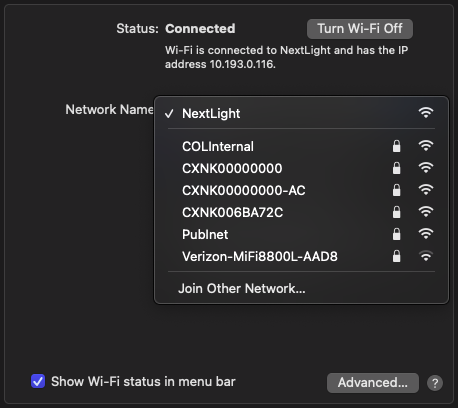
Option 1:
From the Network preferences page, like shown in the last section, select the drop-down menu ‘Network Name:’ and select the Wi-Fi network you would like your computer to be connected to.
Option 2:
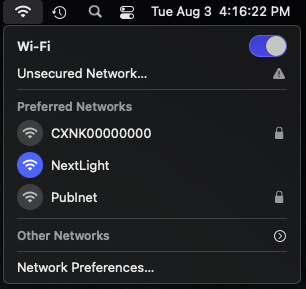
From the Menu Bar (at the very top of your computer screen) find the Wi-Fi icon. Select that icon. It will open a small menu for you to choose the Wi-Fi network you would like your computer to be connected to.
¶ Static Routes
sudo route -n add -net 10.0.0.0/8 192.168.0.254