¶ Auth Server
1. Select the ‘Add’ button on the ‘System / User Manager / Authentication Servers’ page.
2. We will first set the basic options then come back to everything we skip in this step.
Set the following:
- ‘Descriptive name’ to identify the server being added
- Search Scope: Entire Subtree
- Enable ‘Extended query’
- Disable ‘Bind anonymous’
- Set ‘Initial Template’ to ‘Microsoft AD’
3. Under ‘Search Scope’ set the ‘Base DN’.
The Base DN defines the starting point the LDAP server uses when searching for users. If my user domain was login.mydomain.com, I'd use the following:
DC=login,DC=mydomain,DC=com4. Set ‘Authentication containers’.
The Auth Containers are attributes that a user account must possess in order to authenticate.
I am declaring that a user account must be in the “User” container and be part of the login.mydomain.com DC to authenticate.
CN=Users,DC=login,DC=mydomain,DC=com5. In the ‘Query’ field, define the query that user accounts must meet the criteria of to authenticate.
To allow users in the ‘FirewallUsers’ group (and that are in ‘Users’ and part of the DC) to login:
memberOf=CN=FirewallUsers,CN=Users,DC=loginDC=mydomain,DC=comTo allow users in the ‘FirewallUsers’ OR ‘Admins’ groups (and that are in ‘Users’ and part of the DC) to login:
|(memberOf=CN=FirewallUsers,CN=Users,DC=loginDC=mydomain,DC=com)(memberOf=CN=Admins,CN=Users,DC=loginDC=mydomain,DC=com)6. Set your ‘Bind credentials’.
7. If you would like to use LDAP to authenticate shell access, use the same query used in the ‘Query’ field earlier but in the ‘Shell Authentication Group DN’ field.
¶ Groups
In order for permission to be set on the groups set earlier, we need to define those AD groups in pfSense.
1. Select the ‘Add’ button on the ‘System / User Manager / Groups’ page.
2. To grant permissions to the ‘FirewallUsers’ AD group, we need to create a pfSense ‘FirewallUsers’ group.
The name of the groups (AD group and corresponding pfSense group) must match one another exactly, character for character.
Make sure to the the ‘Scope’ to ‘Remote’.
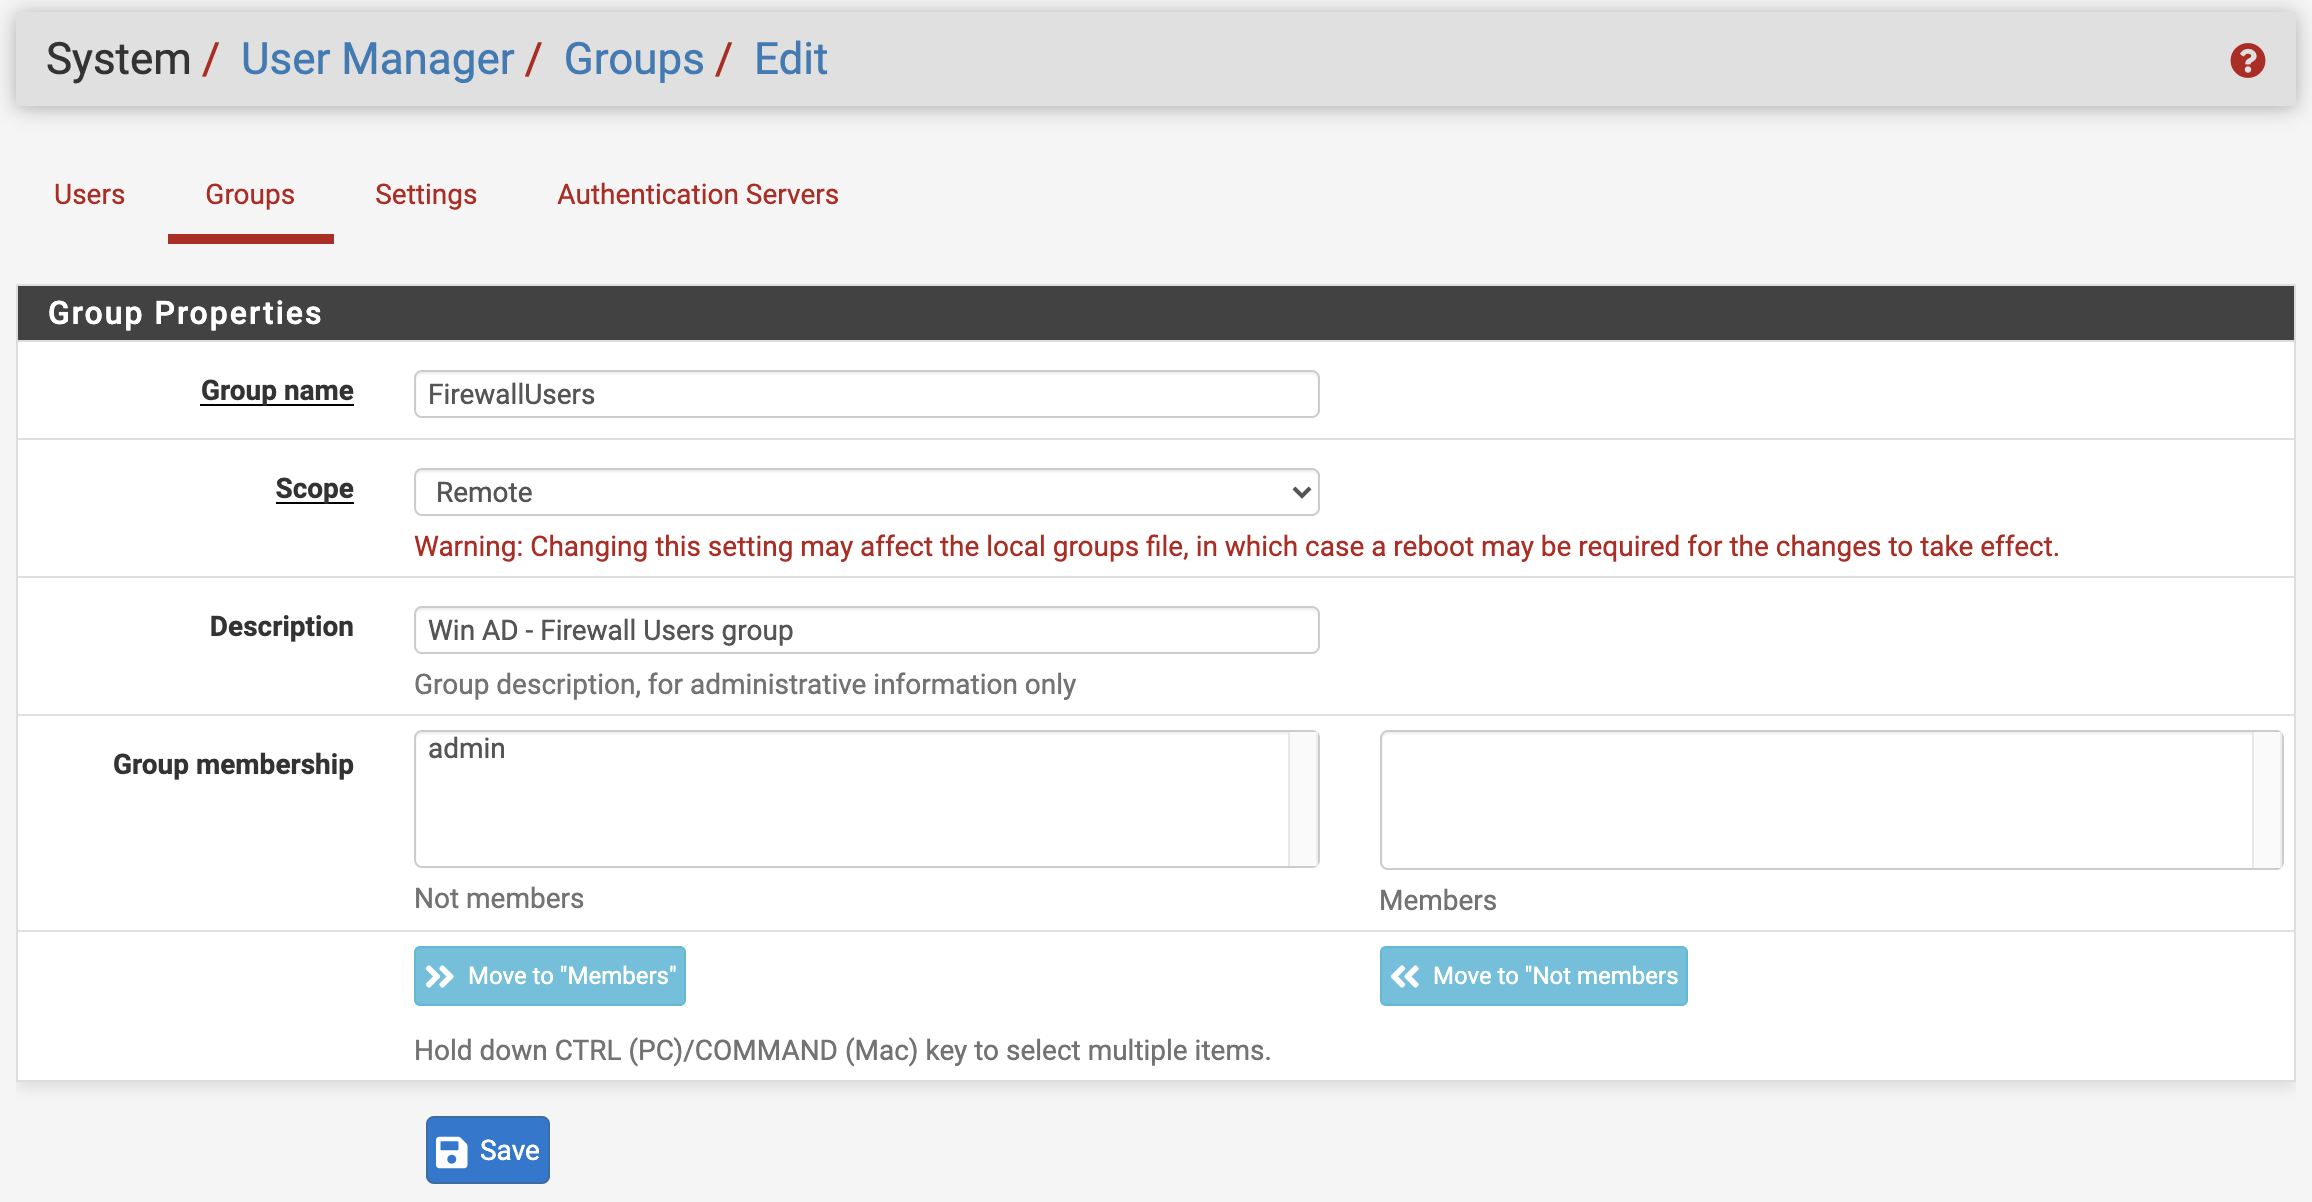
Save the rule. You will return to the main ‘Groups’ page.
3. Edit the group you just created.
4. Under ‘Assign Privileges’ click ‘Add’.
5. Select your desired permissions, then click ‘Save’.
6. Click ‘Save’ again.
¶ Confirm and Switch
Before we switch pfSense over to use the new Authentication Server, let's test to make sure our settings are correct.
1. Navigate to ‘Diagnostics / Authentication’
2. Select the new Auth Server
3. Test the credentials of an account that is in the group(s) we've allowed to login to pfSense.
4. Hopefully you see that the user has authenticated successfully and which group the user is a member of. If not, go back through your settings until this test passes successfully.
5. Navigate back to ‘System / User Manager / Settings'
6. Set ‘Authentication Server’ to the server we setup earlier.
7. Save the change(s).
¶ Shell Auth
Specific attributes must be set in order for a user to login to the system's shell (via SSH or Serial/Console)
- gidNumber = 1234
- uid = ross
- uidNumber = 1234
- loginShell = /bin/sh
- unixHomeDirectory = /home/ross